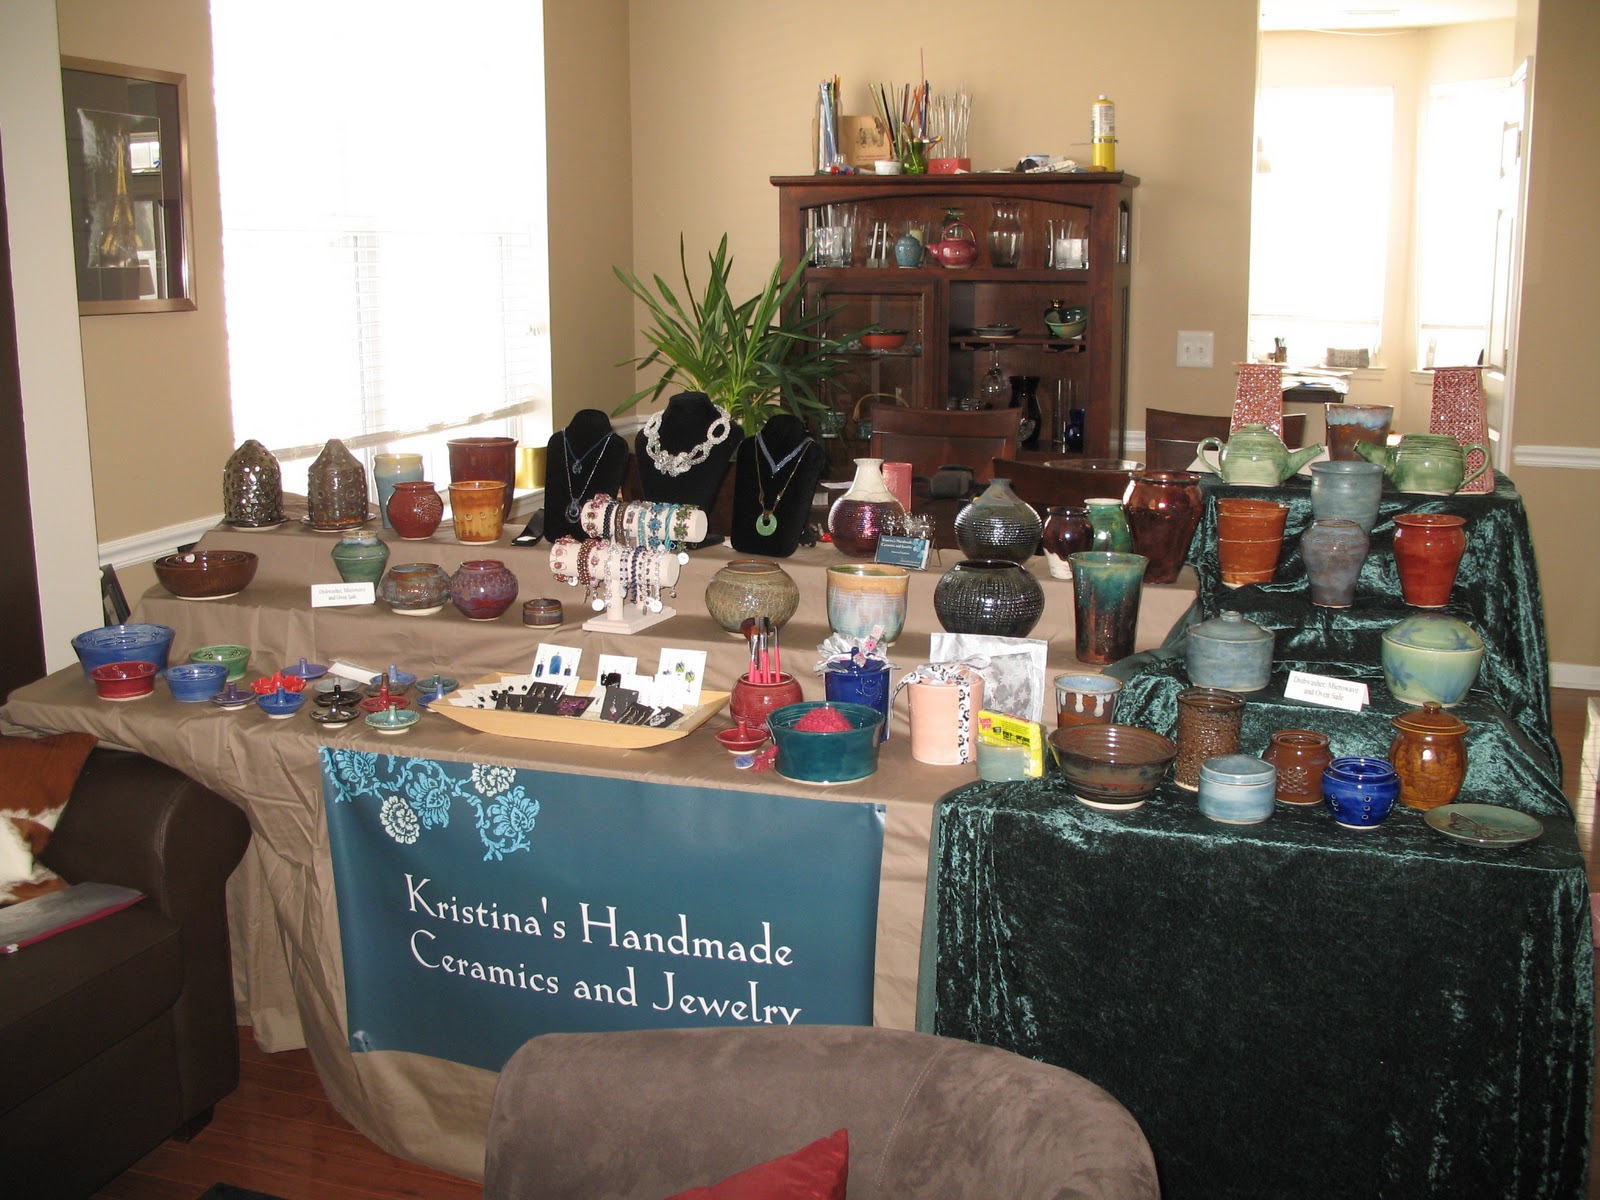
Do you live near Princeton, New Jersey? Come visit me at the Crafter's Marketplace on November 19 & 20, 2011. Find great handcrafted gifts for someone special.
Firing Your Pottery: Step 2
Once glaze has been applied to a pot and allowed to dry it needs to be fired again to get the glassy surface most people think of when talking about pottery, so back to the kiln! The pottery is placed on shelves again, just like with the bisque firing, but with glaze firing you can’t stack pots one on top of another because they’d fuse into one when the glaze melts so no touching! Not pot to pot, pot to shelf, or anything else.
 |
| Glazed pottery before firing. |
 | |
| And the same pieces of pottery after firing. For the giraffe plate, I hand painted the giraffe with black underglaze prior to adding the translucent brown glaze on top. |
So now you know, pottery making is a laborious process that involves several steps and many, many hours (even if it’s just waiting for a pot to dry or be fired). People often ask artists why a piece of pottery costs so much, it’s not so much the cost of the clay or glazes, or the electricity/gas to fire the kiln, or even the capital investment of the kiln, it’s really the experience that potter has gained over the years of practice and the time it takes to create each piece of pottery by hand.
And you ask what about the ceramic dinnerware set I can buy for $25 at the local big-box store? The difference comes down to volume, when ceramic pieces can be made by the hundreds using a mold, glazed in en masse, and fired in gigantic kilns, we’re talking a whole different ballgame. Artisans you see at craft fairs, on Etsy, and in galleries have hand crafted individual pieces of art for your enjoyment.
Next time I will tell you about raku, a unique firing process that produces beautiful metallic glazes.


